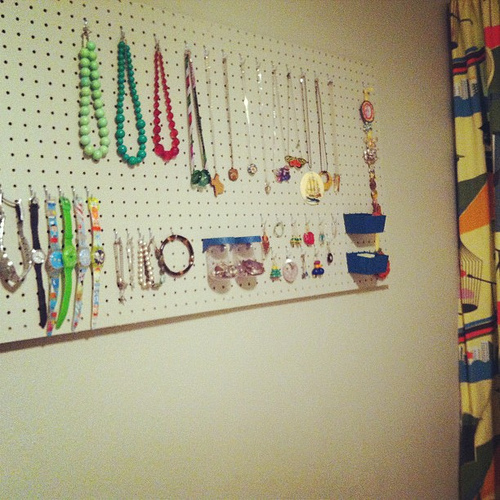
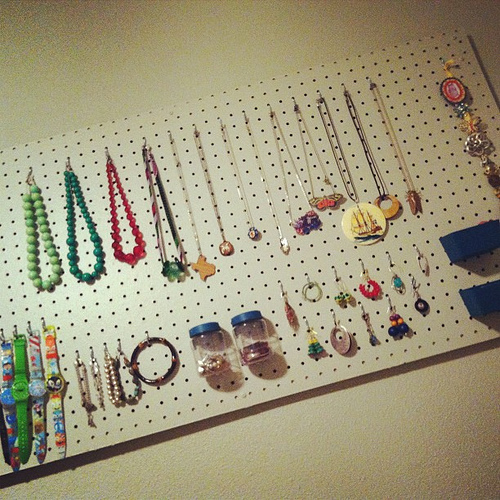
I FINALLY got the DIY pegboard jewelry organizer up in the house. Brett helped me construct it weeks ago and it’s been sitting in the laundry room collected dust ever since. Our weekends are bananas!
Last weekend I finally had time to paint the bad boy, and yesterday after a quick family trip for Memorial Day Weekend Brett helped me mount it up. I spent about an hour arranging everything on the board and making sure it was in good usable shape… I think it’s a DIY success!
My inspiration was Martha Stewart’s pegboard DIY. First, we attached four 2″x2″ boards to all four sides of the pegboard in the back. Then I lightly sanded the whole front surface and painted it with *two coats on the front and on the sides (don’t want the wood color to be visible from the side!). Then we measured and mounted the board via two long screws on the wall, simple placing the pegboard frame on the back onto the two protruding screws.
*I painted it the same color as our wall, a light gray color. I wanted the jewelry to stand out, not the pegboard.
Voila! An easy and super-organized jewelry organizer. I now realize how much room I have left to fill… I think I need some more jewelry.


Polly
Jun 1, 2012 -
I wish I could get a handle on my jewelry. It doesn’t actually even fit in my bedroom right now ;_; I’m going to have to figure out how to move it out of the new nursery before baby arrives!!